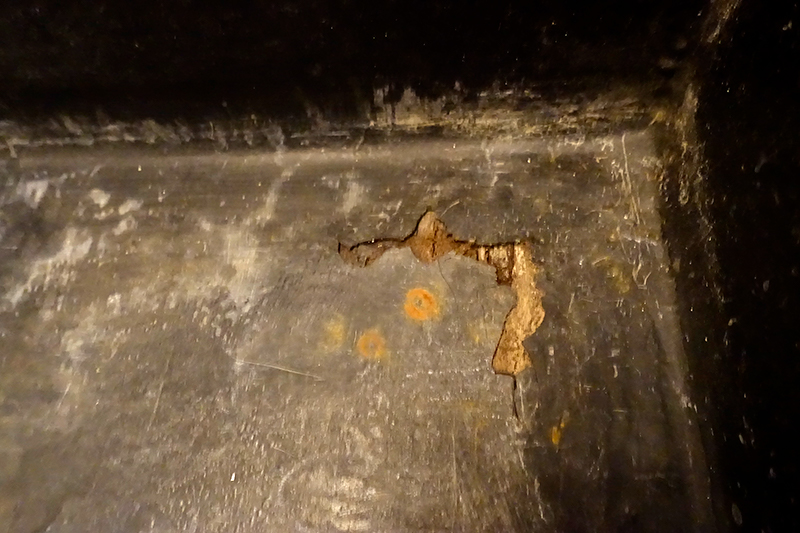
Yikes
9/15/16. I need a new sink. I made this one about 12 years ago and used polyester resin, which as it turned out never really bonded with the plywood substrate. It’s started to crack and flake badly. The finish on the sink was never really even substandard- the resin went on like molasses reclaimed from a sandy bog. At least I tinted it black, which helped mute the ugliness a bit. But for the past two years I’ve had to trowel on silicone caulk to help make it last just a little longer. I can’t stand another year of this. The weather’s turning cool so need to get started on a new one. This will probably be the most tediously detailed diary that I’ve posted here. I have no memory of how I (mis)made the last one, and if I ever have to repair this new version, the details may help to isolate what I’ve done wrong.
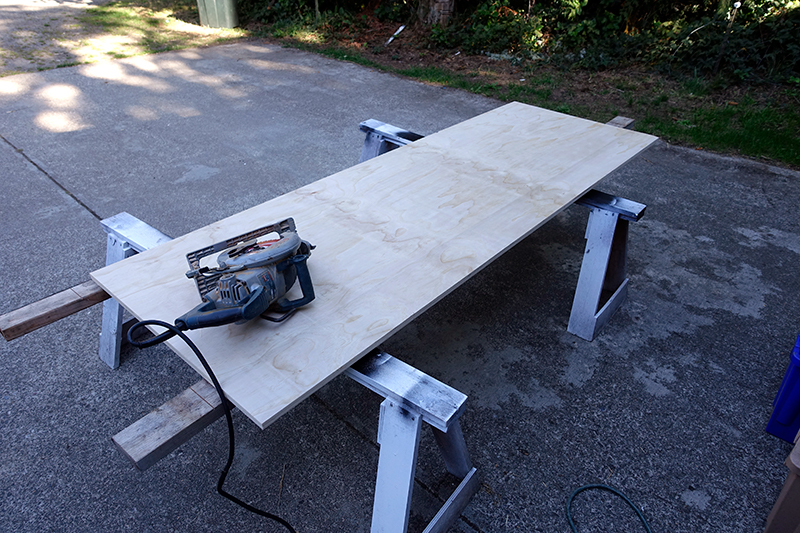
I thought about just buying a stainless steel sink from Rosy Products– they are certainly reasonably priced and look well made. But hey plywood is all but guaranteed to give me the chance to make another sink in 10 years. I thought about using marine grade plywood, or maybe even using balsa core to keep weight down, but wanted to get started and neither was readily available. Ended up with some 3/4″ Pine ply. I usually get Baltic birch for all plywood projects. But the pine seemed pretty nice for the cost- no major voids in the core or unusual stresses in the sheets.
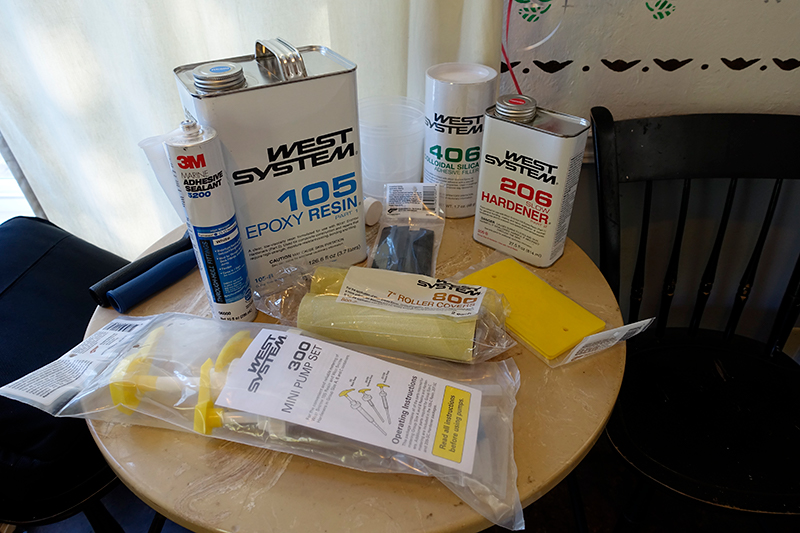
I didn’t cheap-out on the resin this time, but this stuff is expensive. The 5200 marine adhesive is for all waterside joints, the epoxy is for all exposed surfaces (including backs and bottoms), colloidal silica is an epoxy additive for structural fillets. I forgot the glass cloth, the acetone, roller trays…This project is on pace to cost more than all of the materials for my 5×7 camera, film holders and tripod combined.
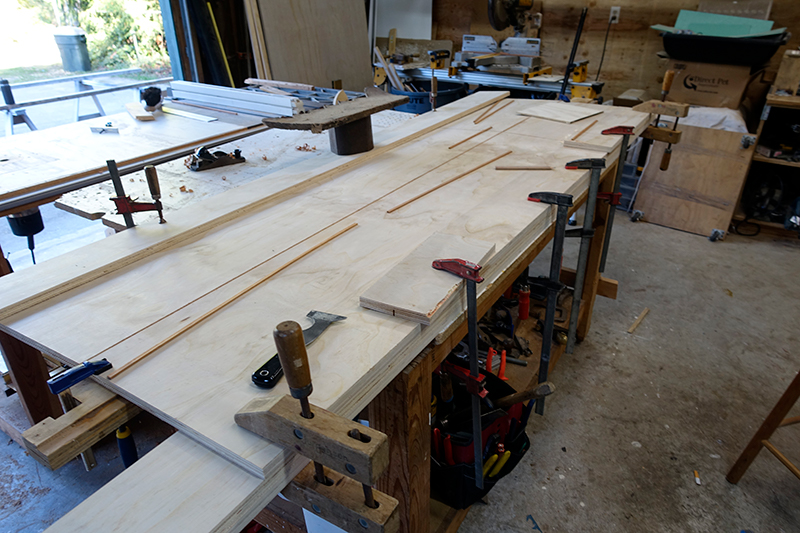
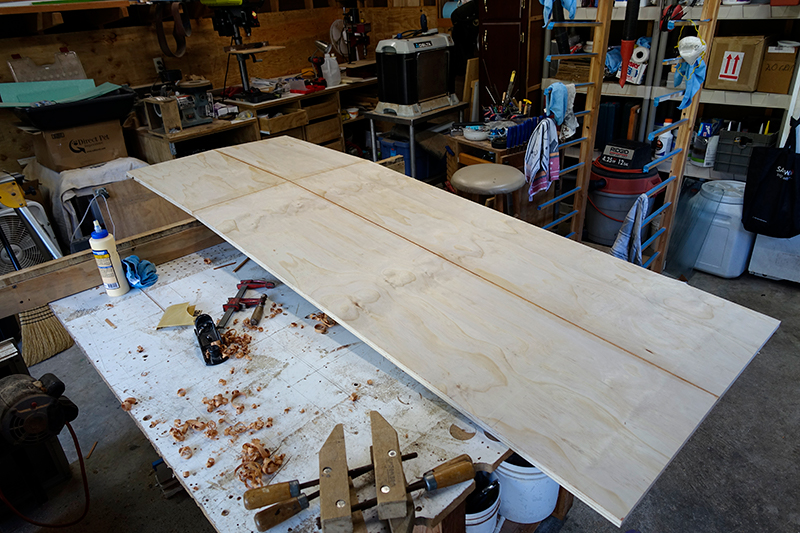
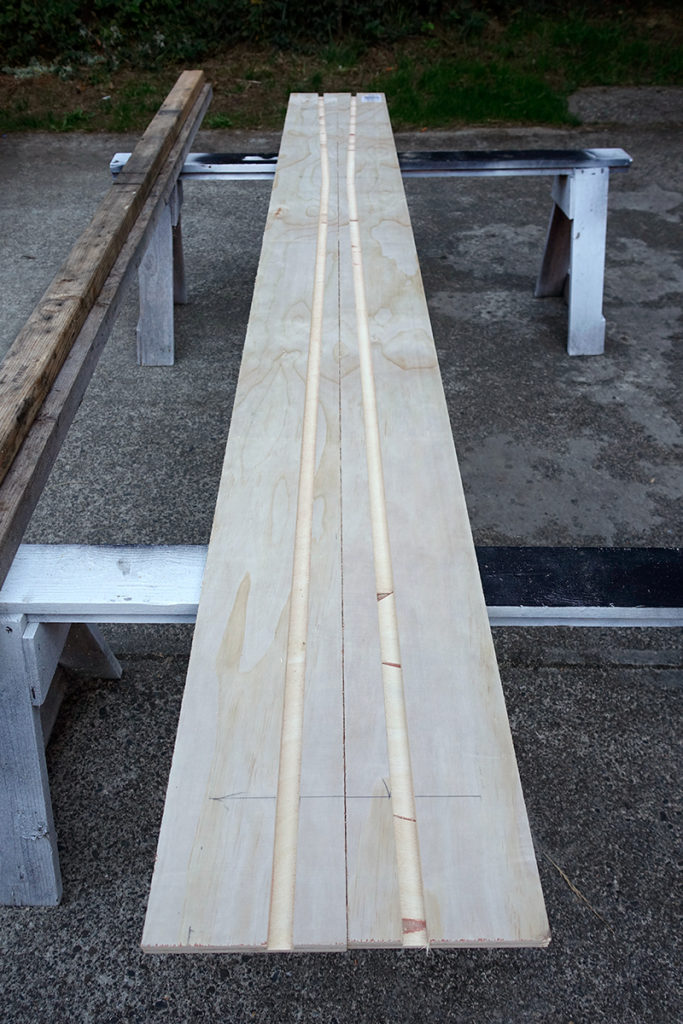
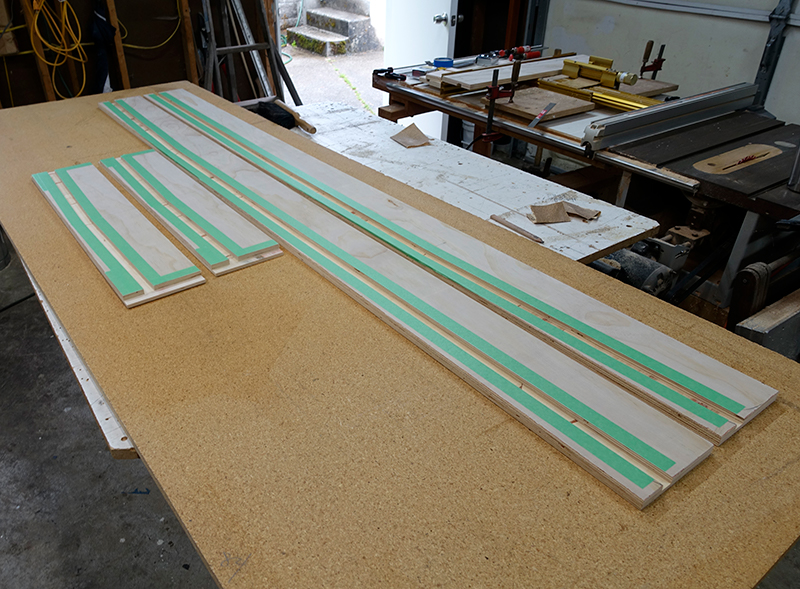
I’m sick of flat-bottom plywood sinks that have a fistful of shims shoved under one end to aim the water at some distant RV-sized drain. I kerfed the bottom of the plywood on the X and Y to get a shallow compound slope in the sink bottom. I cut some wedges out of mahogany scraps and glued them into the saw kerfs. Later I’ll reinforce this with glass cloth and epoxy. The stress lines on both sides of the plywood were first wetted-out with a little boiling water to softer the fibers (didn’t flood it, just a small stream along each side of the bends), then the plywood is clamped with a straight length of wood on the opposite side of the kerf and slowly bent into shape by tightening down clamps on the unsupported edges. I fine-tuned the wedges with a handplane as needed to not overly stress the wood- depending on the type of plywood it can fail without much warning. I did the long bend first then the short, leaving a gap in the wedges where they intersect. The drain will be located in the intersection of these bends.
I pattern-routed dadoes in the front and back aprons of the sink to support the bottom. I left the parts at rough length to do this- still not sure how I’ll join the corners. I’ll dado the end aprons tomorrow.
9/16/16
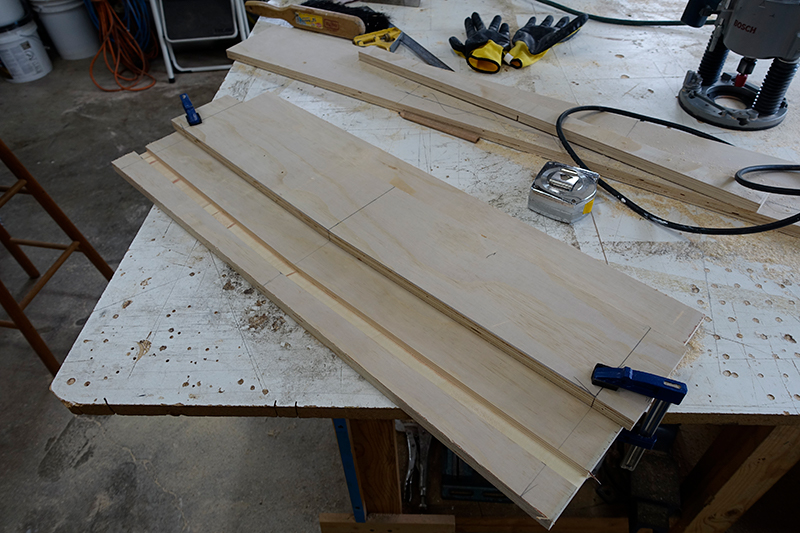
Routed the end aprons and then brooded about the corner joinery. I thought about dovetails or box joints, but the 7′ long aprons do complicate milling the joinery a bit. I thought about miters and keying the joints with dovetail splines, but that seemed too precious, like a 7′ jewelry box.
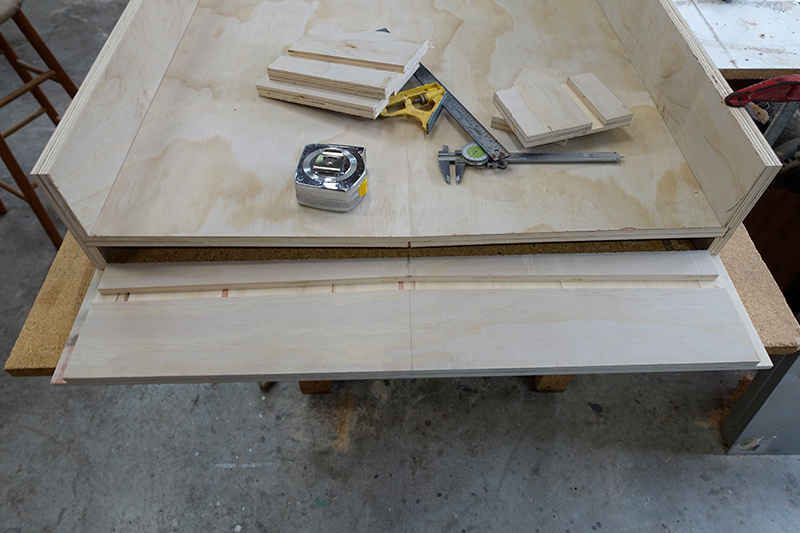
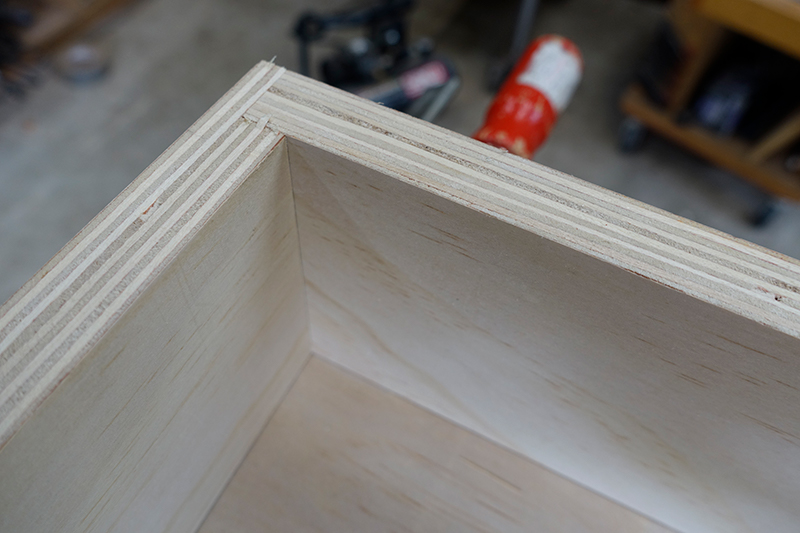
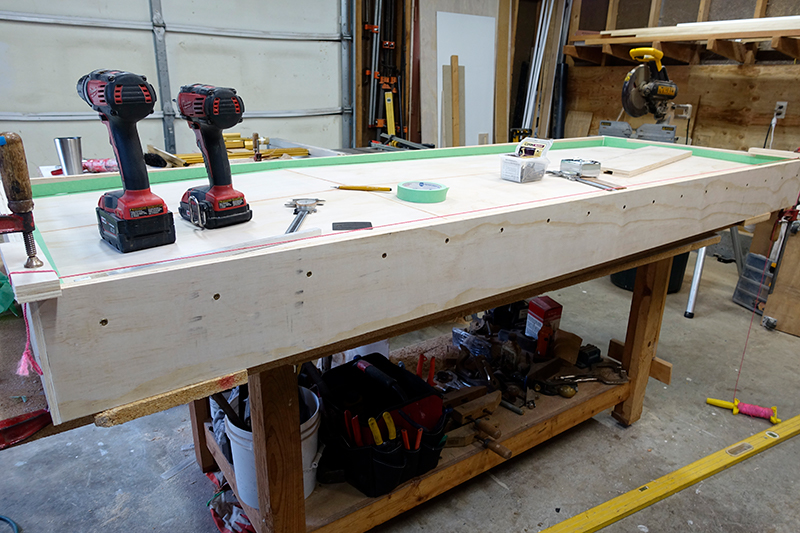
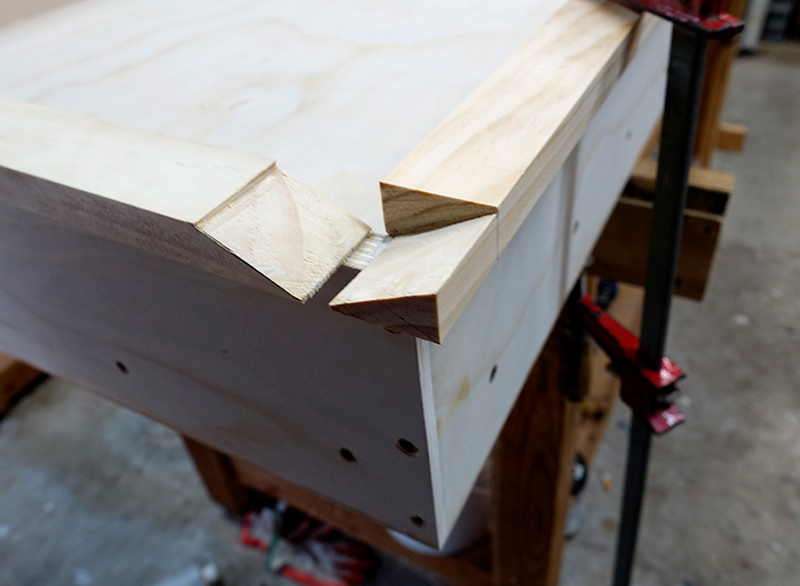
In the end I just made a simple corner rabbet joint. I did this on the short aprons to simplify clamping- my longest clamp is only 6’6″, the sink is 7’2″ long. I’ll just pin the corners with some screws to hold it. Eventually all inside 90° corners and seams will be reinforced with an epoxy bonding fillet. Plus the marine adhesive should hold the wood joints securely- the corner joints as well as the entire sink base inside the perimeter dado.
Looking uncomfortably coffin-like. The weather is turning, rainy and cool. 60° and 84% humidity. I will probably glue this up tomorrow and let it cure for a week or before I start the layup.
9/17/16
I pre-sanded all the parts with 80 grit in preparation for the epoxy. Supposedly this helps the bond. I’ve never worked with the 3M 5200 adhesive before so I also masked off all the joints and the perimeter of both sides of the deck in case squeeze out makes a mess. It’s not bad though in cool temperatures, sort of like Sikaflex, and cleans up with acetone which is the same solvent as epoxy.
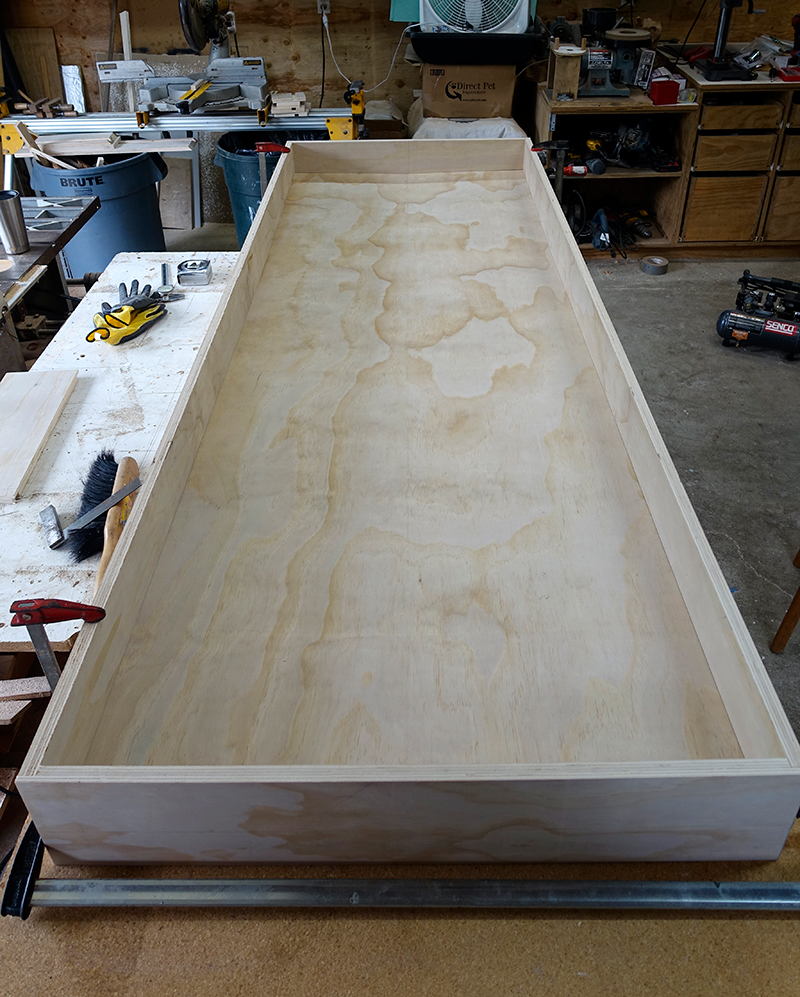
The most stress that a sink like this endures is simply being moved into place, so I decided not to rely on the adhesive bond. The 5200 is supposed to remain ‘flexible’, so moving the finished sink might crack the epoxy- I have no idea how flexible it is once cured. I screwed the apron to the deck around the perimeter at 5″ on center, stringing a line on the long pieces to keep them straight. The plywood deck was slightly undersized by about 1/16″ on each side so I could get a decent amount of sealant in the perimeter dado, and didn’t want to bow the apron by over-tightening the screws and squeeze it all out. Also screwed the rabbet corner joints. This is not finish grade plywood- the pine veneer is only about 1/64″ thick and I probably wont be able to sand out the scuff marks without exposing the core, so I’ll either fill the screw heads and paint the surface, or laminate something over the face of the apron to clean it up. I’m also going to install a rim, some 1×2 solid wood to cover the plywood core of the apron and give a nicer surface to slouch against.
The 5200 label says it needs 7 days to cure. I shimmed the sink flat and level and will pick this up again next weekend.
9/18/16
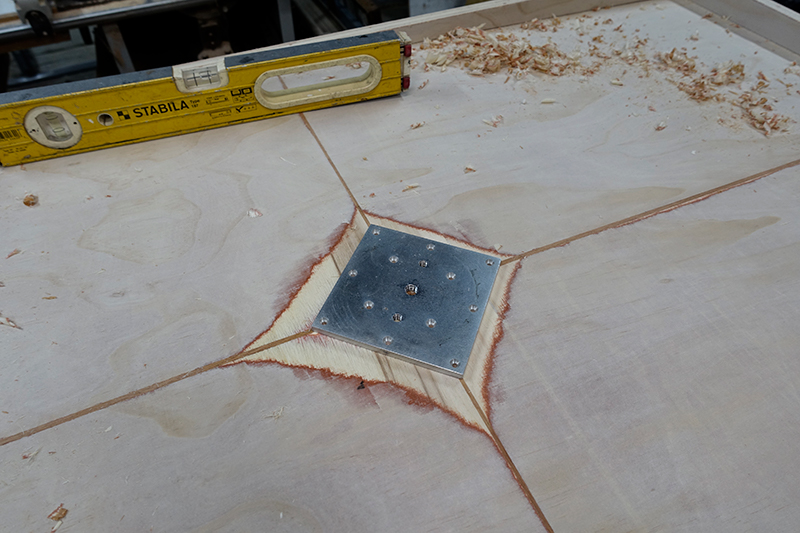
Forgot that I need a flat seat on the bottom of the deck for the drain gasket and nut, so planed a spot, checking progress with a scrap camera tripod mounting plate. I will drill through for the drain when all the coating is done, the touch up the plywood core of the hole and the recess for the drain’s flange with additional epoxy. On past sink builds I’ve tried drilling and routing an inlay for the drain flange before coating, but it was always difficult to keep the epoxy even and level so the drain seats properly.

I decided to practice with the epoxy and fiberglass on the bottom of the sink. Conditions were 63° and 78% RH. Did the bonding fillet and 3 coats of epoxy with the glass cloth, giving 3 hours to tack-up between coats. I made a pastry bag out of a ziplock bag to pipe the thickened epoxy for the fillets- works really well. For this and many other helpful tips check out David Johnson of West System International- https://www.youtube.com/watch?v=fkWbImCiZUU. West System also sells fillable caulk tubes ($3.00 for two) which are more precise and less messy. I tried both a squeegee and a roller to apply the epoxy, the roller seemed to work better. You can cut rollers into strips to tip off the roller texture and air bubbles. I used acid brushes to get into the corners and fillets.
I really should have gotten the faster 205 catalyst- the 206 takes forever to get tacky enough to re-coat at local temps. I ended up bringing in a space heater and leaving it cranked up all day while applying the coats and all night while curing, barely maintaining 60° and 75% RH overnight. I think the glass cloth I used was contaminated, it blistered a bit on the second coat of epoxy. I bought it in bulk off a roll from a local supplier- who knows how much it’s been handled or how long its been sitting there- there was an ugly black stain at the end of the sheet. Or it may have been just too cold and the epoxy was too viscous to fully saturate the cloth. I’ll get some sealed-package cloth and 205 catalyst, and do another practice run on a scrap of plywood before starting on the top.
9/29/2016
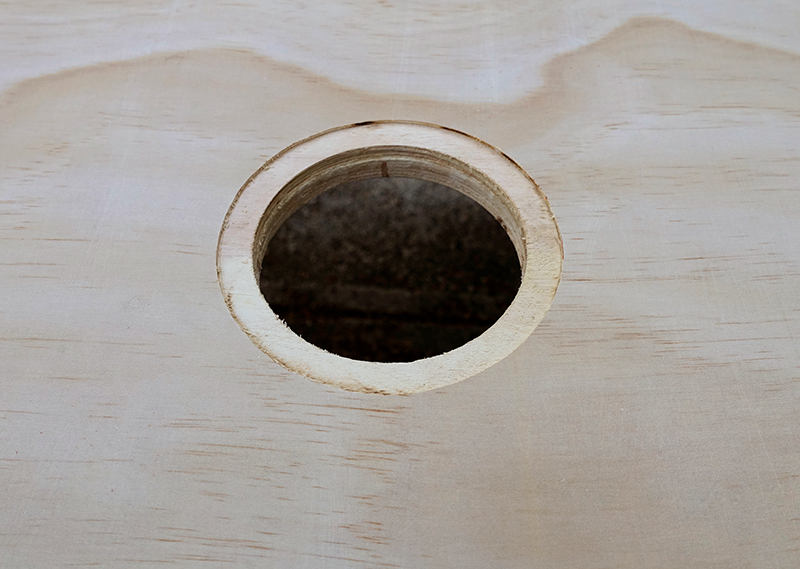
My job is taking over my life, but found some time to get back to the sink. I decided not to risk chipping out the finished epoxy, so pre-drilled for the drain, using a 3 1/2″ holesaw, then used a 1/2″ rabbet bit to recess for the flange. I made the recess slightly oversized to account for the epoxy and glass thickness. Better too deep than have the drain flange above the sink surface.

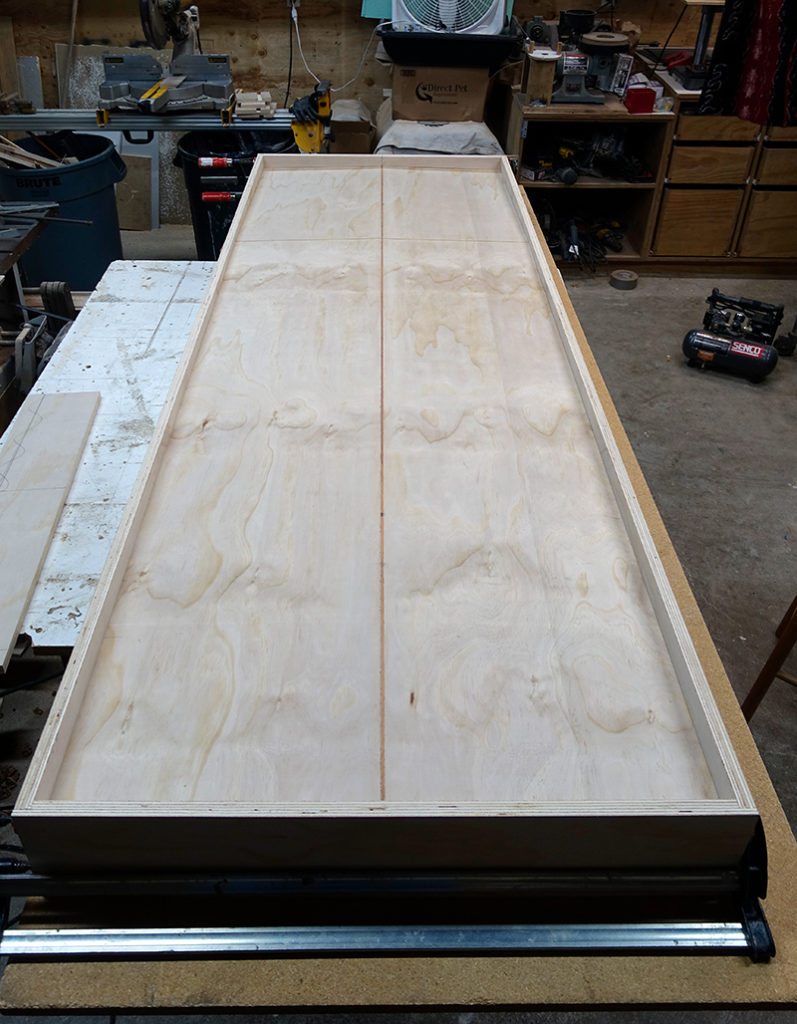
Used some 1″ x2″ clear pine for the sink rim. The corner joint is scarfed, cut with a handsaw. I glued the rim down slightly proud of the inside of the sink and will flush rout this and round over the edges before layup tomorrow.
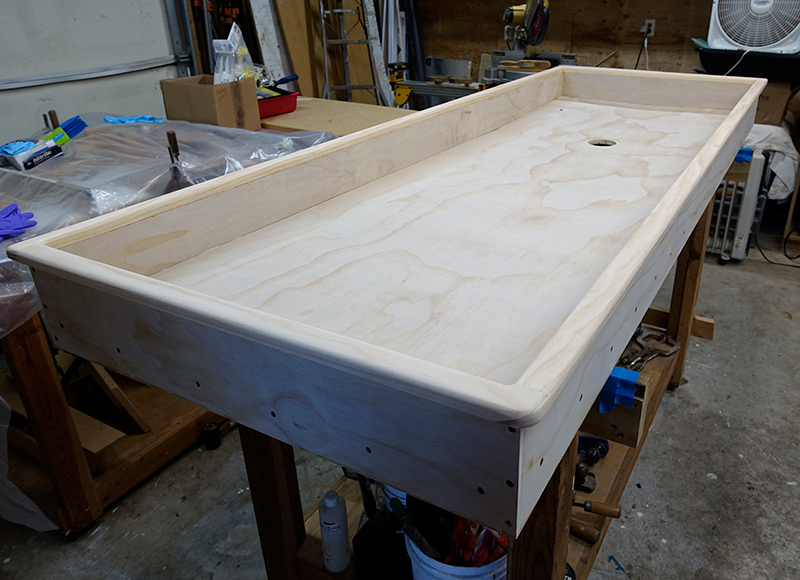
Rim, after routing it flush with inside of sink, and rounding over the edges. Three corners of the sink abut walls, so only this corner needed an outside radius. I’ll do a bonding fillet around the underside of the rim to strengthen it. I also cut some cant strips out of pine to epoxy into the sink base to ease the inside corners and edges and keep water from collecting along the edges. It would have been easier to just do an epoxy fillet, but the silica additive I got is white and not sure if I’ll actually paint this or not. I’m still not sure what I’m going to use to trim out the 2 apron faces that show, but the outside of the sink needs to be epoxied too so I’ll wait on those details until it’s in place.


Long day. I put on four coats total inside and out, the entire thing is pretty much hermetically sealed. To prep the plywood surfaces for epoxy I’ve been doing this: Cleaning the surfaces with acetone, carefully sanding everything with 80 grit sandpaper to key the surface so the epoxy will stick, vacuuming up the dust, then cleaning the entire surface with a new microfiber cloth dampened with distilled water. I then covered the sink with talc-free visqueen while drying. I wanted to prevent any chance of contamination, didn’t touch any of the surfaces with bare hands after this prep was done.
I flipped the sink to fillet the underside of the rim (used a fill-able caulk tube which did work better than the pastry bag). Then flipped it back coated all surfaces. The sink is supported over a table without a top so I could check for drips under the drain cutout. Once the first coat tacked up, I wet-set the cant strips into the epoxy. The tack was enough to hold them in place.
I didn’t fiberglass the top. I may regret this, but realized after the first coat was on that I didn’t have enough fabric, and worried that after a trip to town it would be too cured for a second coat. Then I’d have to meticulously sand and clean every surface to accept another coat. Turns out I would have had plenty of time, even the ‘fast’ 205 catalyst needed about 3 hrs between coats.
At nightfall there was an assault of crane flies and gnats, attracted to the relative heat and light of the shop, so I had to quickly throw down the last two coats and shut off the lights to keep them from alighting in the goo, sneaking back in occasionally to make sure the epoxy wasn’t sagging or puddling in the drain recess. I ran the space heater all day and night, barely able to maintain 58° and 75% RH. Got some orange peel, but not too bad considering the last coat went on at 2:30 am. It’s blindingly glossy, so will probably buff out the sheen some with synthetic steel wool. I may do a final coat with a pigment, or possibly premixed gel coat, haven’t decided. Found one perfectly fossilized gnat deep in the finish.
I used the roller and acid brushes again topside, but I think I would have gotten better results using the squeegee and then tipping off with a quality 2″ brush- the roller seems to incorporate too much air, which can give the epoxy a slightly cloudy finish. I tried both 3/16″ nap mohair and the West System foam rollers on this project- the mohair seems to leave more texture. After curing for a day I sanded out the finish with some 180 grit sandpaper to knock off the surface imperfections, then buffed it out with synthetic steel wool.
___
I’ll do a separate post for the installation and the plumbing setup. My darkroom adjoins a bathroom that also needs remodeling so I’ll wait to install this so I can redo the plumbing on both at once.
I’ve been checking around for a good water mixing panel during this project, but all I could find were really basic and expensive new fixtures, or used fixtures there were way overpriced considering they’re 60+ years old. Why anyone would pay so much for recycled plumbing parts is a mystery. I don’t mind spending a premium on plumbing fixtures, but it needs to have a responsive thermometer, fresh seals at the valves, be lead-free, and not clogged from decades of hard water use. Plus, used water panels were set up for someone else’s darkroom, and have to be re-configured to fit yours. I ordered a Winters in-line thermometer (TBM series with a bi-metal element and a standard 1/2″ NPT thread for the thermowell) to scratch-build a water panel around, will probably use a couple of simple gate valves or even a shower mixer to control temperature. Other than a vacuum breaker and a cheap inline water filter, that’s all a water panel is. It’s a simple arrangement- once the tempered water is set with the main valves, each hose or faucet outlet will have it’s own on/off valve. I’ll also install a hot water line that bypasses the mixer so I can have plain hot water to clean with without changing the temp.
Post about the remodel here-