DIY convertible darkroom window block
A cheap way to black-out windows in a multipurpose room is to make a panel out of rigid insulation and masonite- a cork essentially- which fits by friction into the window jamb and can be easily removed. My old version is about 10 years old now and getting pretty beat up. It’s also too heavy and thick due to the masonite and 2″ foam board construction. I thought about stepping up to a Indow Window panel, but at roughly $30 a square foot means it would cost close to $350 for my single 26 46 darkroom window. I decided instead to just make a new lighter one using 3/16″ plywood underlayment and thinner 1″ RMax foil-faced rigid insulation (polyisocyanurate) sheathing. Both materials are very lightweight- this one is 14.5 square ft overall and only weights 5 pounds.
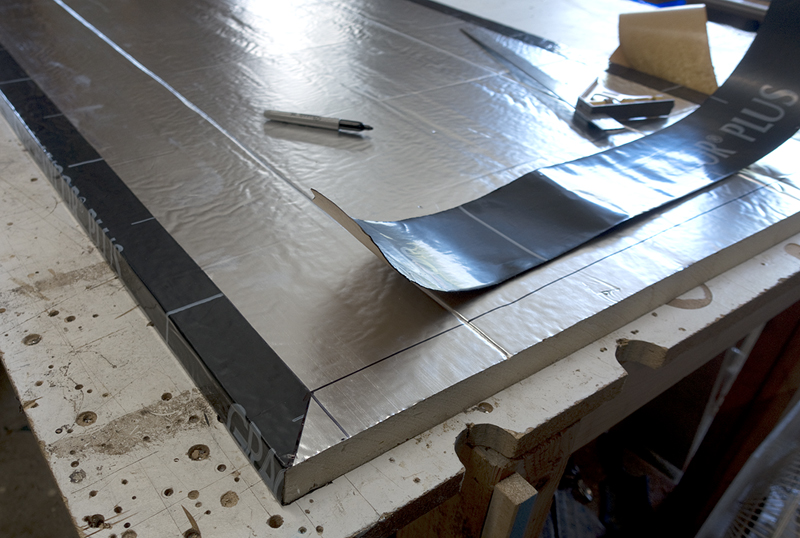
Foamboard is cut so that the long dimensions of a 10° bevel are a little over window jamb size. RMax cuts very cleanly with an ordinary ATB saw blade, but the exposed edges are fragile and dusty so they were wrapped with Vycor, an adhesive-backed flashing membrane. Obviously, test the fit before applying the vycor.
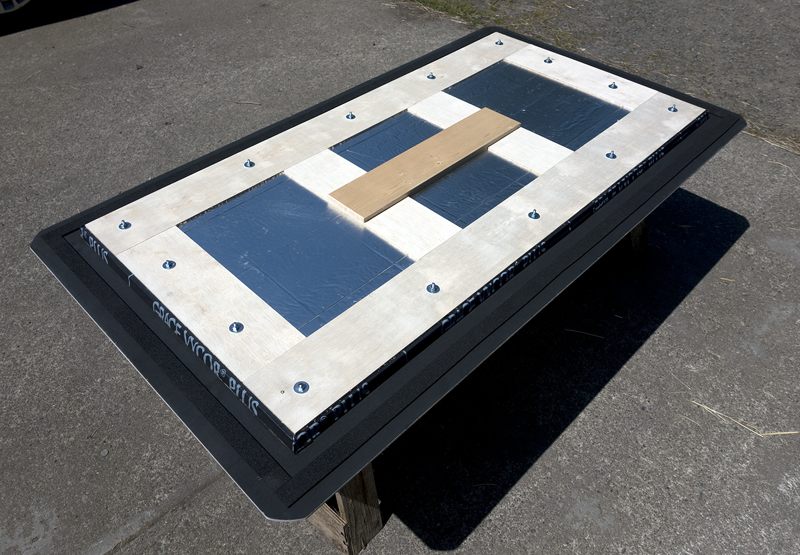
Window side: thin plywood frame reinforces and protects the foam panel. The thicker board in the center is half-lapped over the plywood frame and provides some reinforcement to the center as well as solid backing for attaching the handle with long screws. I still need to add a few bolts to reinforce the batten. The perimeter weather-stripping is black closed cell foam which is mostly opaque. It is spaced to leave a gap for the window trim and form an extra light baffle.
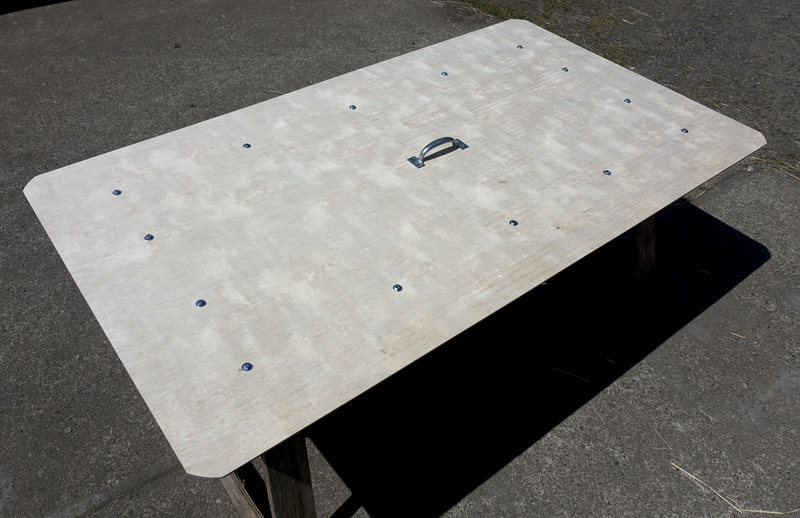
Room side: thinner and lighter materials means more bolts are needed to keep everything from buckling. 1/4 x 20 thread is plenty big, and fender washers help distribute pressure when tightening, otherwise the nuts and bolts will punch through the plywood and foam if over- tightened. 1.5″ isn’t quite long enough for 1″ XPS and 2 layers of 3/16″ ply, so used 2″ bolts and cut them down.
There are no modifications that need to be done on the window trim or jamb, but of course they should be securely shimmed, nailed, and caulked in place. (Obviously the trim should be in a flat plane- window trim with an ornate Federal-style entablature would require a bit of head-scratching.) This will help to ensure there are no light leaks in the trim joints and that inserting the cork repeatedly doesn’t throw the trim out of whack and ruin the seal. Construction of the cork itself is straight forward. When sizing the foam I make all cuts on a 10° bevel so the cork can be tightly friction fit into the window opening. While not exactly a memory foam, the edges will conform to minor irregularities in the window jamb. The plywood overlay is 3½” over-sized on all 4 sides to allow for a light-trap lap. For durability, the exposed edges of the RMax panel were wrapped in Vycor (I already had this on hand- many other things would likely be as suitable, but the vycor is black to reduce reflections, smooth and non-marking). The rear face of the foam panel was covered in a frame of plywood strips, which reinforces the sandwich and also clamps down the edges of the Vycor. The sandwich is held together by bolts, fender washers, and nuts. Some spray adhesive will let the plywood strips stick to the foil well enough to hold everything together while you drill and install the bolts. I suppose panel adhesive could be used instead of bolts, but it’s nice to be able to take it apart for repairs or modifications. I already took it apart once to trim the plywood- it was bumping into the window drapery hardware a bit.
On the window side, the foil facing helps to reflect back some light and reduce thermal gains. My window faces west and the first one I made was wrapped in black outdoor upholstery to reduce light scatter and it was pretty bad in the summer- it would radiate heat for hours even after removing it. This time around only the inside plywood margins were painted black and a gasket of black 1¼” x ⅛” closed-cell foam weatherstripping was applied around the perimeter. I cut the extra bolt thread off and polished them into a dome shape so they don’t accidentally mar the walls and trim or snag on the drapes, and treated the unpainted plywood surfaces with a few coats of tung oil. Not super durable, but I already have a quart on hand and it’s better than unfinished plywood.
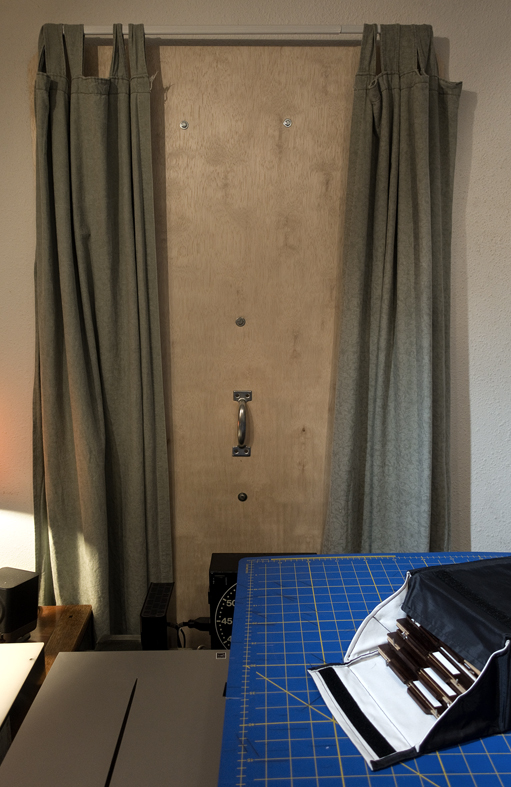
Total cost was about $55 (not including the Vycor, which is about $25 for a 6″ x 75′ roll) . It’s not as pretty as an Indow Window panel, but it does block out light completely, and attaching a handle to the center makes it easy to install and remove with one hand for windows that are difficult to access, like mine, which is behind a 3′ deep UV printer and scanner workstation. When not in use, it can be hung on the inside of a closet door out of sight.